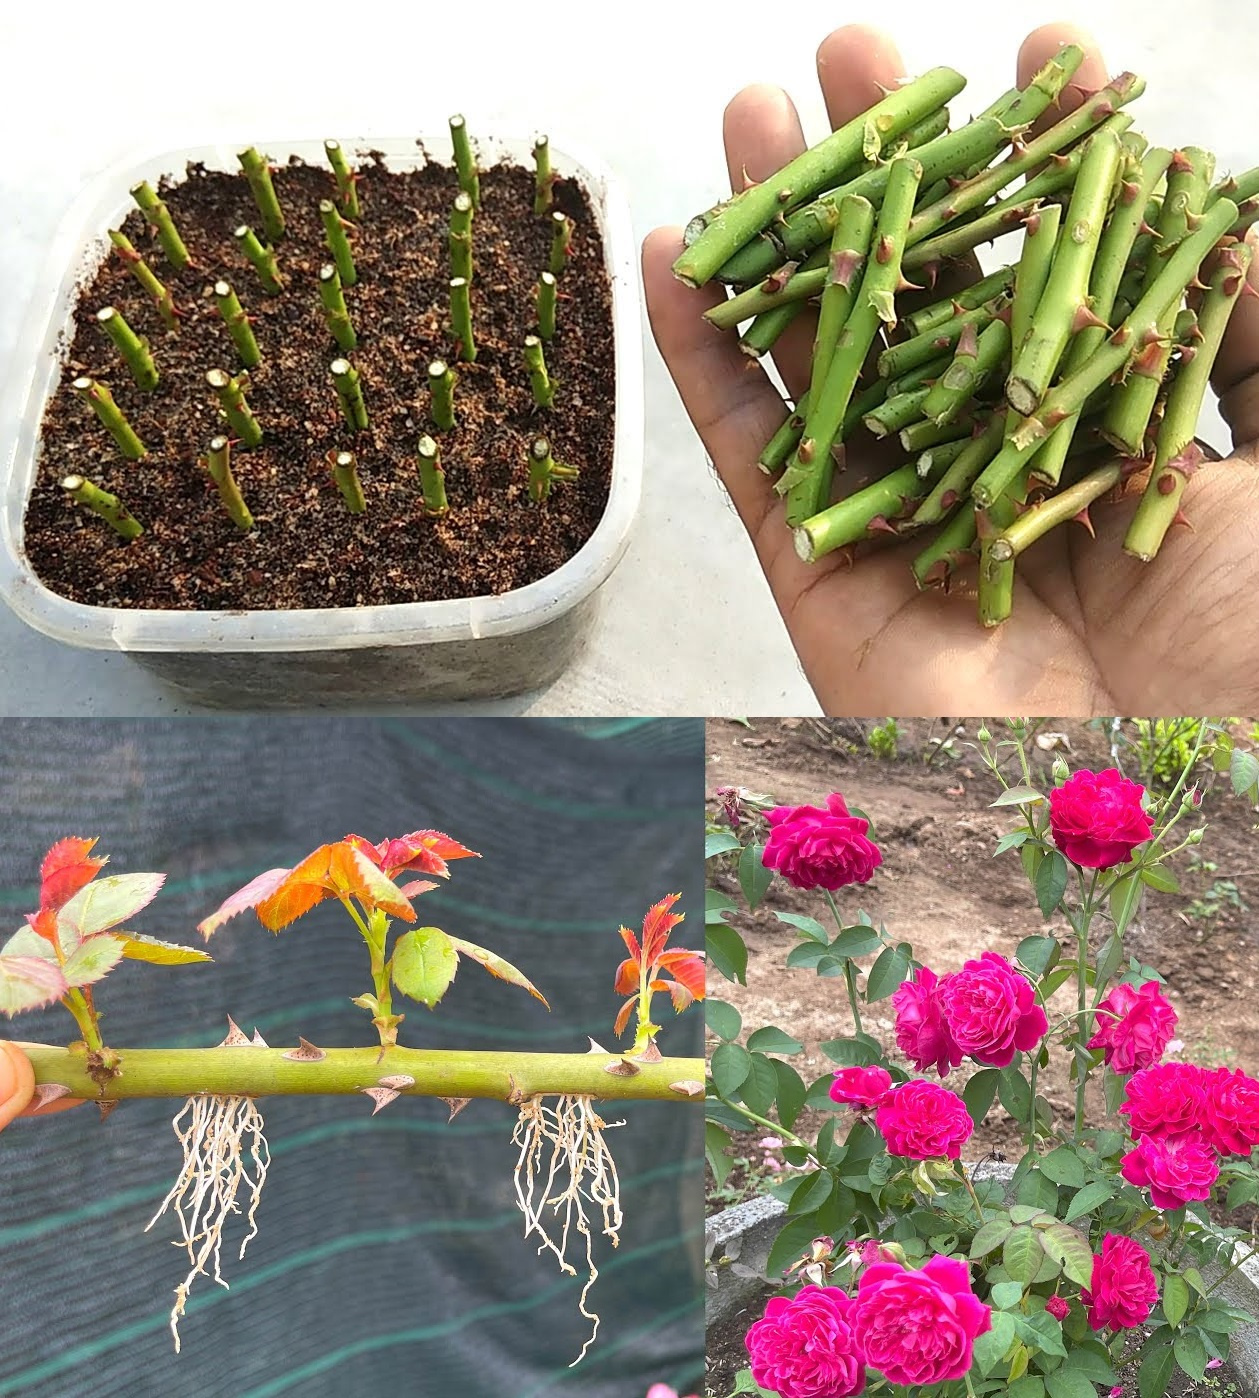
Propagating roses from cuttings is a rewarding way to grow new rose plants. Here’s a step-by-step guide to help you successfully propagate roses from cuttings:
Materials Needed:
- Healthy rose plant
- Sharp, clean pruning shears
- Rooting hormone (optional but recommended)
- Small pots or containers
- Potting mix or a blend of sand and perlite
- Plastic bags or a propagation dome
- Labels and marker (for identification)
Step-by-Step Guide:
1. Select and Prepare the Cuttings:
- Choose Healthy Stems: Select a healthy, disease-free stem from a rose bush that is at least one year old. The best time to take cuttings is in late spring to early summer.
- Cut the Stem: Using sharp pruning shears, cut a stem about 6-8 inches long. Make the cut just below a leaf node (the point where a leaf attaches to the stem).
- Prepare the Cuttings: Remove the leaves from the lower half of the cutting. Leave a few leaves at the top to help with photosynthesis.
- Trim the Cutting: Trim the bottom of the cutting at a 45-degree angle to increase the surface area for root growth. Optionally, make a small slit in the base of the cutting to encourage root development.
2. Dip in Rooting Hormone:
- Apply Rooting Hormone: Dip the bottom inch of the cutting into rooting hormone powder or gel. This step is optional but can increase the chances of successful rooting.
3. Prepare the Potting Mix:
- Choose the Medium: Use a well-draining potting mix or a blend of sand and perlite.
- Fill Containers: Fill small pots or containers with the potting mix and water it lightly to make it moist but not soggy.
4. Plant the Cuttings:
- Make a Hole: Use a pencil or a similar tool to make a hole in the potting mix for the cutting.
- Insert the Cutting: Insert the cutting into the hole, ensuring that at least two nodes are buried. Firm the soil around the cutting to hold it in place.
- Label: Label the pot with the rose variety and the date of planting.
5. Create a Humid Environment:
- Cover the Cutting: Place a plastic bag over the pot or use a propagation dome to create a humid environment. Make sure the plastic does not touch the leaves of the cutting.
- Ventilation: If using a plastic bag, you can use sticks to create a tent-like structure to keep the plastic off the cutting. Make small holes in the plastic for ventilation.
6. Provide Proper Care:
- Light: Place the pot in a location with bright, indirect light. Avoid direct sunlight as it can scorch the cutting.
- Temperature: Maintain a warm temperature around 70-75°F (21-24°C).
- Moisture: Keep the soil moist but not waterlogged. Check regularly to ensure the potting mix remains damp.
7. Monitor for Root Development:
- Check for Roots: After 4-8 weeks, check for root development by gently tugging on the cutting. If you feel resistance, roots have formed.
- Acclimate the Plant: Once roots have developed, gradually acclimate the cutting to lower humidity by opening the plastic bag or propagation dome for longer periods each day.
8. Transplanting:
- Potting Up: When the cutting has a well-established root system, transplant it into a larger pot with regular potting soil.
- Continue Care: Continue to care for the new rose plant as you would for any young rose, ensuring it gets enough water, light, and nutrients.
By following these steps, you can successfully propagate roses from cuttings and enjoy beautiful new rose plants in your garden. Patience and careful attention to the needs of the cuttings will greatly increase your chances of success.
