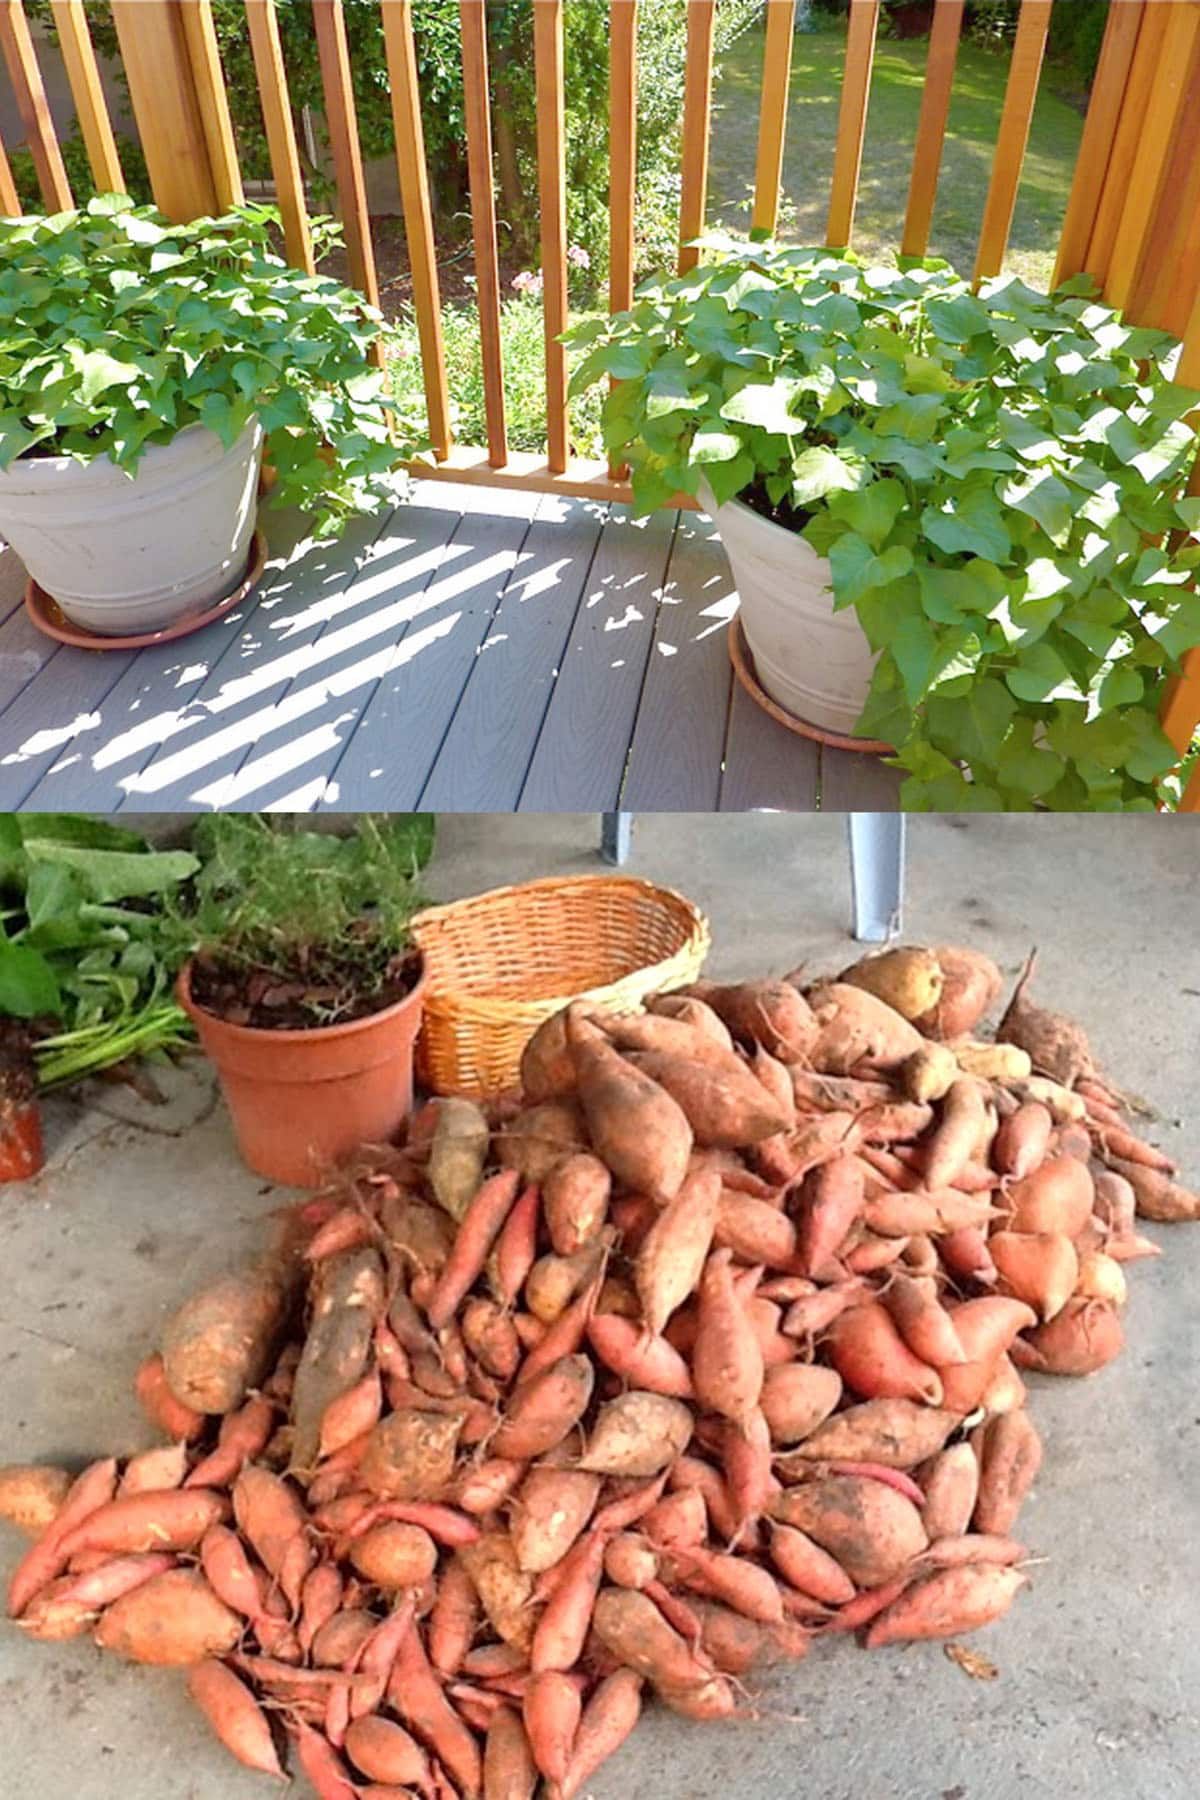
Growing sweet potatoes in your vegetable garden can be a rewarding experience, offering delicious and nutritious tubers. Here’s a comprehensive guide on how to successfully grow sweet potatoes in your garden:
Materials Needed:
- Sweet potato slips (young plants or sprouts)
- Garden tools (shovel, rake)
- Compost or well-rotted manure
- Mulch (straw, leaves, or grass clippings)
Steps to Grow Sweet Potatoes:
1. Prepare the Soil:
- Location: Choose a sunny spot that receives at least 6-8 hours of direct sunlight daily.
- Soil Type: Sweet potatoes prefer loose, well-draining soil rich in organic matter. Avoid heavy clay soils.
- Amend the Soil: Work compost or well-rotted manure into the soil to improve fertility and drainage. Aim for a slightly acidic to neutral pH (5.5-6.5).
2. Start Sweet Potato Slips:
- Purchase Slips: Buy sweet potato slips from a nursery or garden center.
- Grow Your Own Slips: If you prefer to grow your own slips:
- Place sweet potatoes in water or soil until they sprout.
- Once sprouts are about 6 inches long, twist them off the sweet potato.
- Place the slips in water until they develop roots.
3. Planting Sweet Potatoes:
- Timing: Plant slips after the last frost date when the soil has warmed to at least 60°F (15°C).
- Spacing: Plant slips 12-18 inches apart in rows spaced 3 feet apart.
- Planting Depth: Plant slips deep enough to cover the roots and about 1 inch of the stem, ensuring that the leaves are above ground.
4. Watering:
- Initial Watering: Water the newly planted slips thoroughly to help them establish.
- Consistent Moisture: Keep the soil consistently moist but not waterlogged, especially during the first few weeks. Sweet potatoes are relatively drought-tolerant once established, but regular watering will improve yield.
5. Mulching:
- Apply Mulch: Use straw, leaves, or grass clippings to mulch around the plants. Mulching helps retain soil moisture, suppress weeds, and regulate soil temperature.
6. Fertilizing:
- Balanced Fertilizer: Use a balanced fertilizer or one high in potassium. Avoid high-nitrogen fertilizers, which can promote excessive vine growth at the expense of tuber development.
- Side-Dressing: Apply additional compost or a balanced fertilizer midway through the growing season.
7. Weeding:
- Regular Weeding: Keep the area around the plants free of weeds, which can compete for nutrients and water. Mulching helps reduce weed growth.
8. Vine Management:
- Training Vines: Train vines to grow in the designated rows to prevent them from taking over your garden.
- Pruning (Optional): Lightly prune overly vigorous vines if necessary to control growth, but avoid excessive pruning.
9. Pest and Disease Management:
- Inspect Regularly: Check for pests like sweet potato weevils, aphids, and whiteflies. Use organic insecticidal soap or neem oil as needed.
- Disease Prevention: Rotate crops and avoid planting sweet potatoes in the same spot each year to prevent diseases like root rot and fungal infections.
Harvesting Sweet Potatoes:
- Timing: Sweet potatoes are typically ready to harvest 90-120 days after planting, once the leaves start to yellow and die back.
- Careful Digging: Use a garden fork or shovel to gently lift the tubers, being careful not to damage them. Start digging at least 12 inches away from the plant to avoid cutting into the tubers.
- Curing: Cure sweet potatoes by placing them in a warm (80-85°F) and humid (85-90%) environment for 1-2 weeks. This helps to convert starches into sugars, improving flavor and storage life.
Storing Sweet Potatoes:
- Storage Conditions: Store cured sweet potatoes in a cool, dark, and well-ventilated place at about 55-60°F.
- Long-Term Storage: Properly cured and stored sweet potatoes can last for several months.
By following these steps, you can successfully grow sweet potatoes in your vegetable garden and enjoy a bountiful harvest of this versatile and nutritious crop.