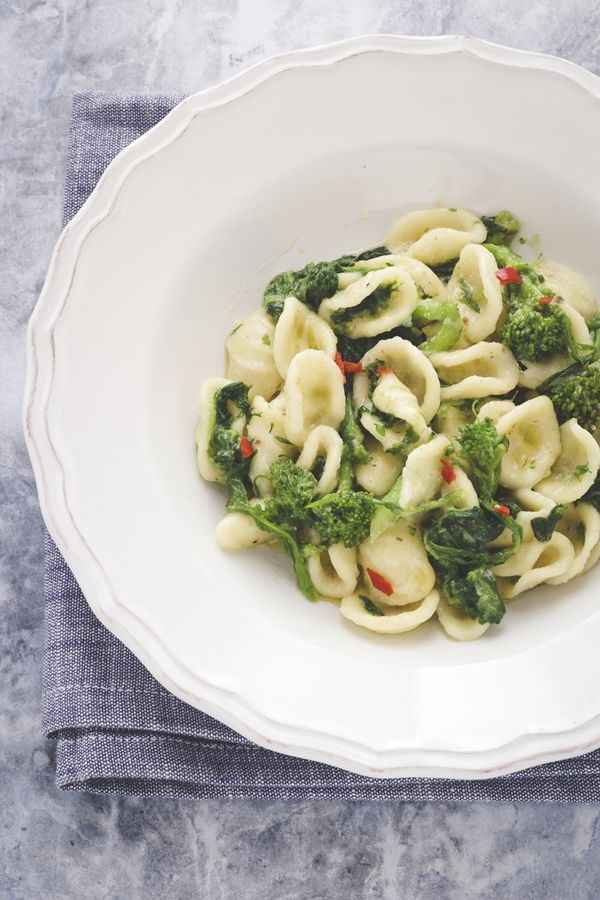
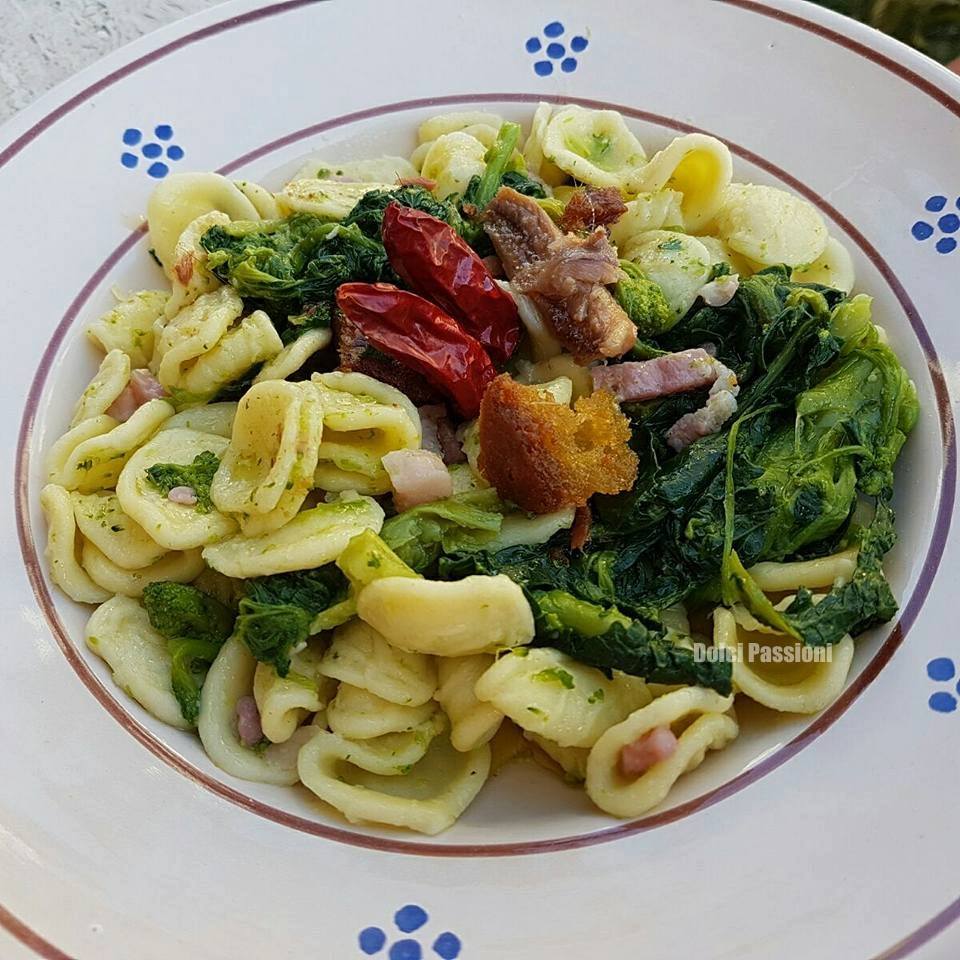
INGREDIENTS
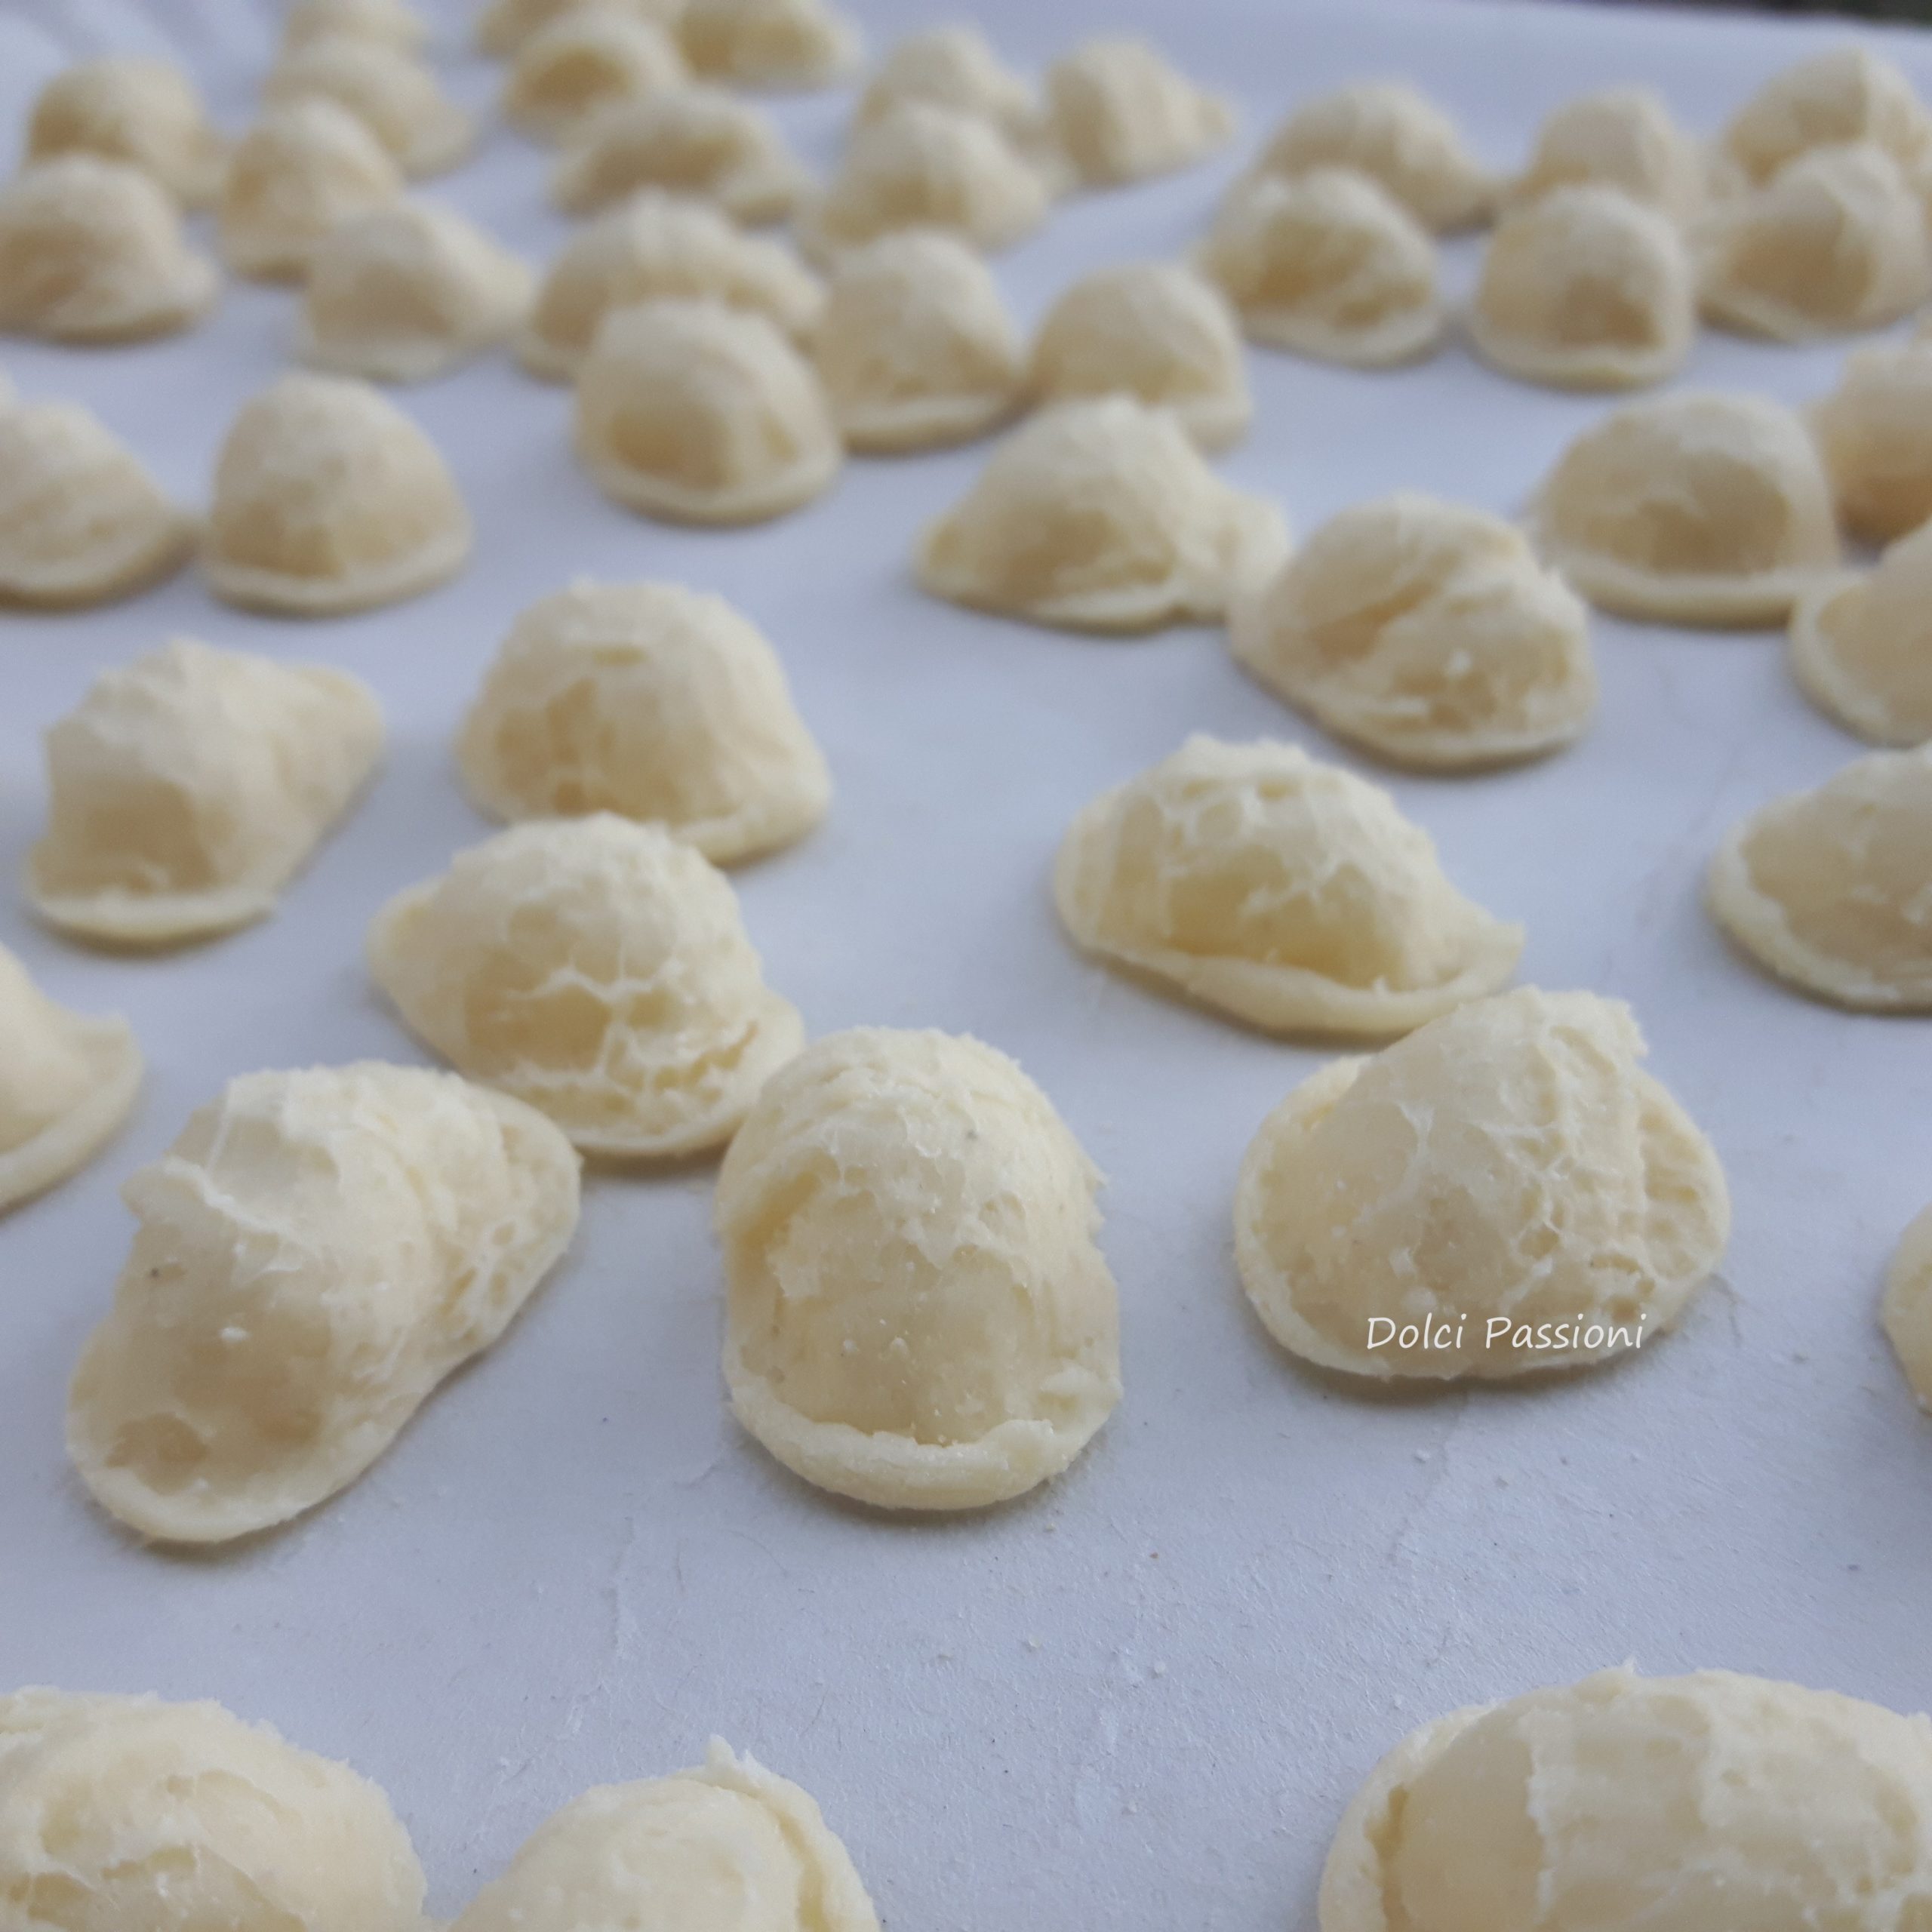
- 400 g of orecchiette
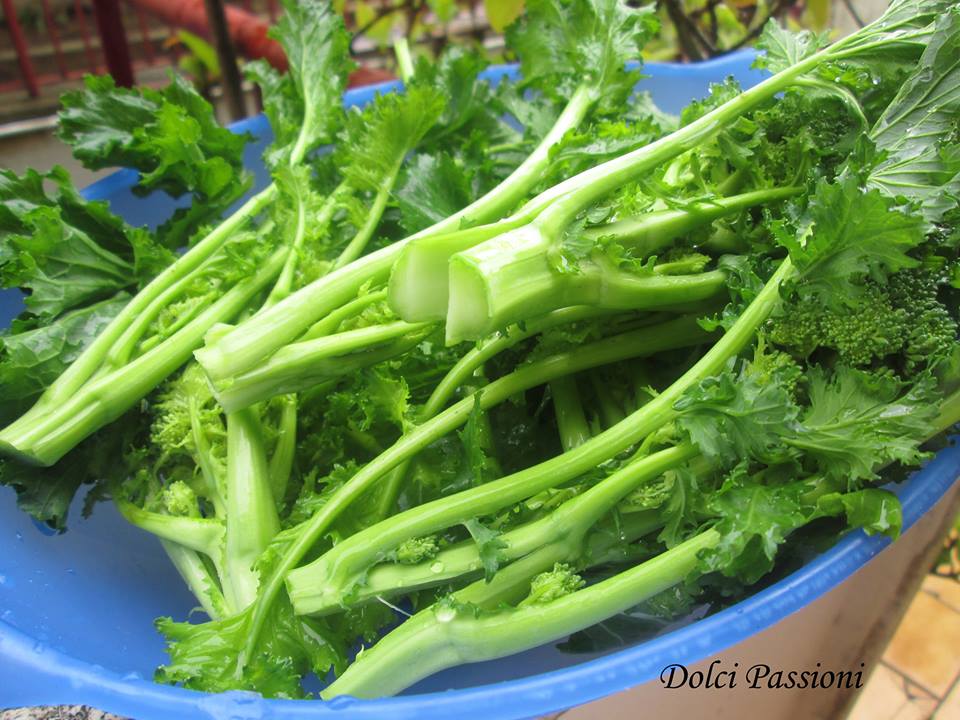
(prepared by hand with 350 g of re-milled flour, 50 ml of warm water (or as much as needed to obtain a smooth, lump-free dough) and a pinch of salt); - 1.5 kilos of turnips;
- 5 whole anchovies, salted, boned and rinsed;
- 1 clove of Italian garlic, minced
(I don’t recommend removing it because it gives a perfect flavour to the dish, just make it tiny or crush it in the garlic press); - 1 fresh chili pepper, chopped, but if you don’t have it, dried, ground chili pepper is also fine;
- 100 grams of Extra Virgin Olive Oil;
- Salt;
- Fried bread crumbs (for decoration)
STEP
- First prepare the orecchiette and let them rest;
- Clean and wash the turnips and set them aside;
- Put the water for the pasta in a large pot, make sure it is large because it will also need to contain the turnips;
- When it boils, add the turnips and salt one and a half times as much as you would if you were cooking only pasta. After a couple of minutes (adjust according to the size of the tops’ cores) or a little more, add the pasta;
- Remember that fresh pasta needs less cooking than dry pasta, so the turnips must be cooked to the right point otherwise they will be undercooked. Understanding when to lower the pasta is a skill that is acquired with practice, but I am sure you will succeed;
- While the turnips and pasta are cooking together, place a large, capacious pan with the oil, garlic and chilli pepper but do not turn on the heat because you will turn it on when you drain the pasta with the turnips;
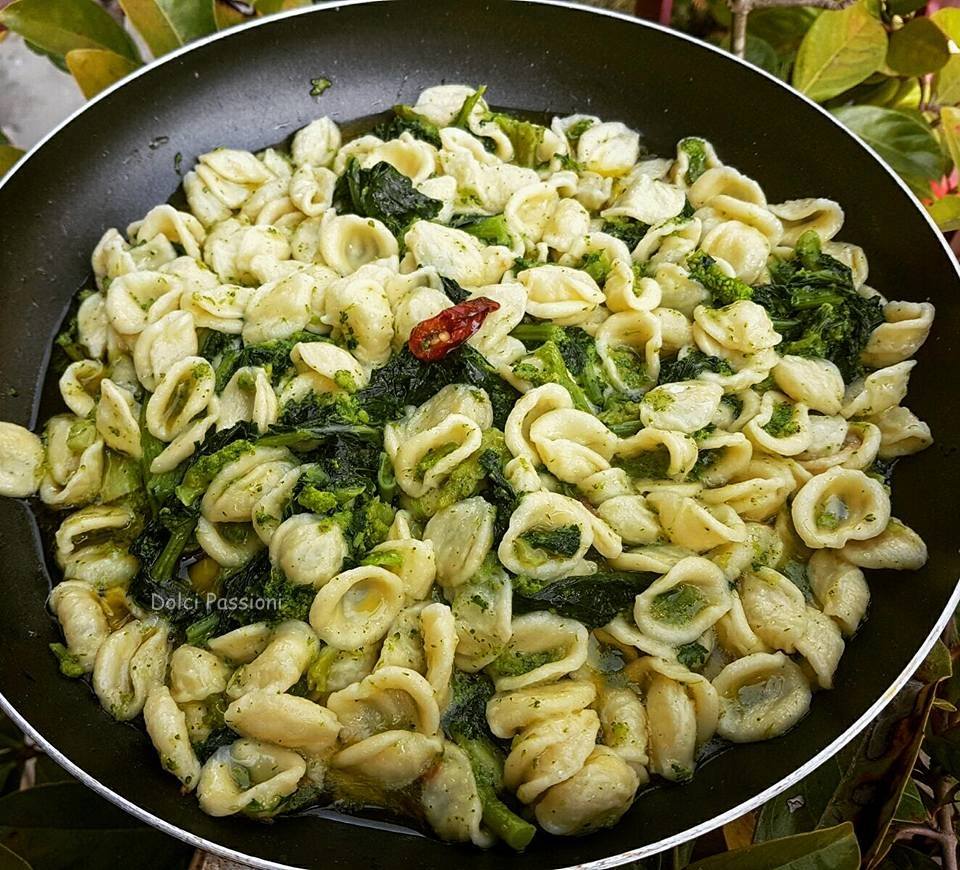
- Brown the garlic and add the anchovies, the oil will sizzle and they will almost melt. At this point you have to pour the pasta with the turnips into the pan and mix everything well for a few moments;
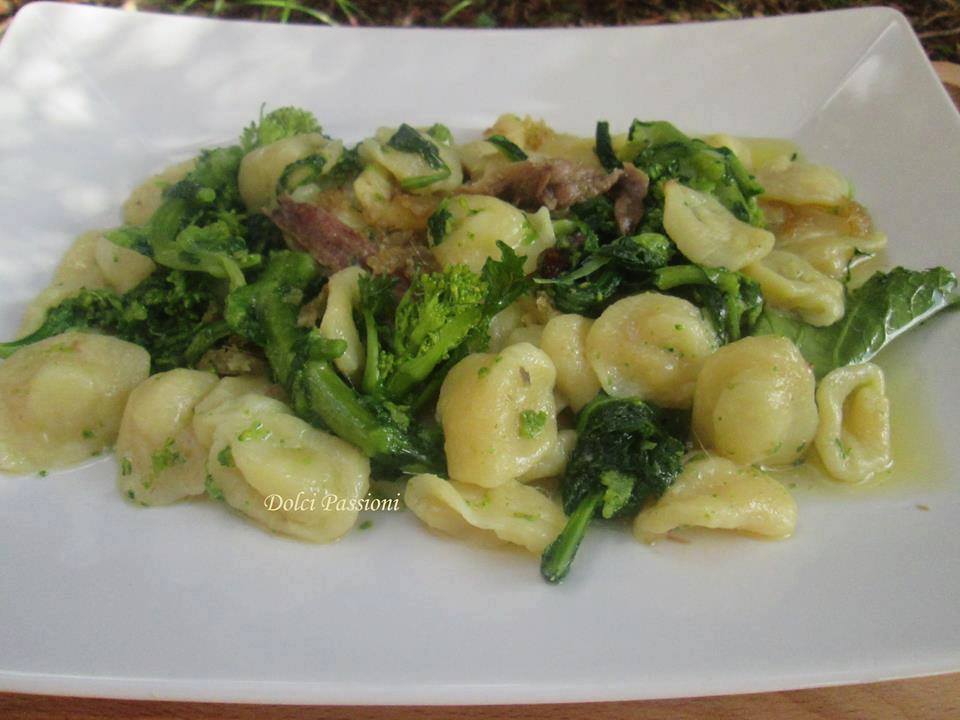
- Plate and you can add toasted breadcrumbs to your liking;
- Serve hot and… enjoy your meal!
NOTE
Raw orecchiette can be dried under a clean cloth (without sealing) if you decide to consume them in a couple of days. Otherwise it is better to freeze them well spaced on a tray and when they are stiff, transfer them to freezer bags!

