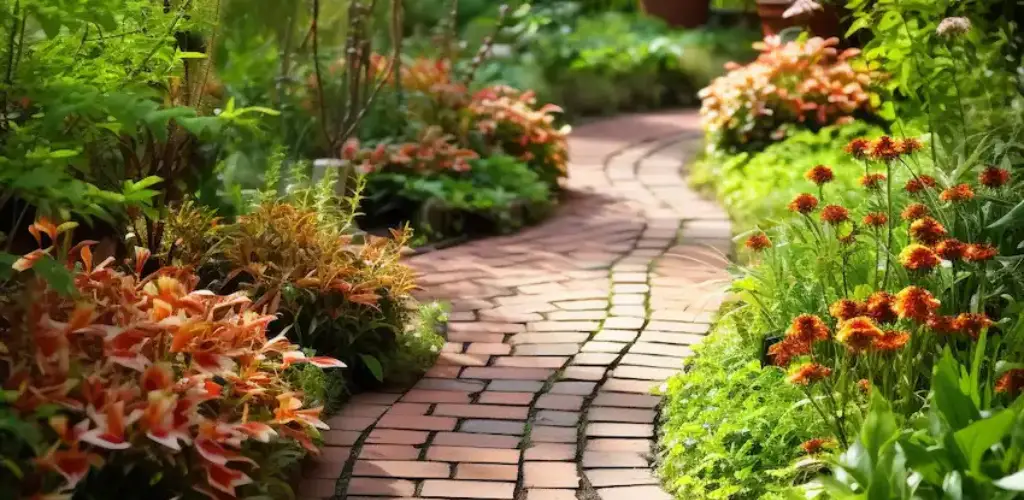
Die Umgestaltung Ihres Garten mit einem gemuerten Gehweg not only enhances its aesthetics, but also offers a functional path that leads you through the beauty of your outdoor retreat. Der Bau eines gemumeerten Gehwegs can be a rewarding DIY project that gives your home value and character. So create a breathtaking and durable brick walkway in your garden.
Step 1: Design and Planning
1.1. Visualize your path: Start by mapping out the route of your walk. Think about how it will fit into your garden, its shape and purpose. A straight path provides a formal appearance, while a curved walkway can provide a more natural, informal feel.
1.2. Choose your stone: Choose the type of stone you want. Options include clay bricks, concrete bricks and recycled bricks, each of which offer different textures, colors and durability. When making your choice, consider the overall design of your garden and house.
1.3. Measure your space: Determine the length and width of your walkway. This will help you calculate the number of bricks and the amount of other materials required.
Step 2: Preparation
2.1. Mark your path: Use pins and cords to outline the path of your path. This step guarantees accuracy and helps visualize the final product.
2.2. Dig the area: Dig up the soil along the path to a depth of about 8 inches. This leaves space for bases, sand and bricks.
2.3. Create a solid base: Lay a base of crushed stone or gravel to stabilize your walkway. Aim for a thickness of about 10cm and compact thoroughly to prevent settling.
Step 3: Laying the bricks
3.1. Adding a sand layer: Apply a sand layer about 5 cm thick over the gravel bed. This helps with leveling and provides a flexible bed for the bricks.
3.2. Start laying bricks: Start at one end of your path and press each brick firmly into the sand. Tap them firmly with a rubber mallet. Hold the stones firmly together to prevent movement and guarantee stability.
3.3. Cutting Bricks: If your design requires it, you will need to cut bricks to fit. A brick chisel and hammer or stone saw can be used for this task.
3.4. Make sure your bricks are even: Check regularly if your bricks are even and adjust them if necessary by adding sand or removing them.
Step 4: The final touches
4.1. Fill the gaps: As soon as all the bricks are laid, sweep sand over the sidewalk and fill the gaps between the bricks. This will help fix the stones in place.
4.2. Compact the walkway: Compact the entire walkway carefully to settle the rocks and sand. A hand tamper or a light pass with a plate compactor works well.
4.3. Final cleaning: Sweep the sidewalk of excess sand and dirt. You can also rinse it with water to settle the sand in the joints.
Step 5: Maintenance

5.1. Regular Inspection: Check your sidewalk regularly for loose or uneven stones. Early detection enables quick repairs.
5.2. Weed control: Keep an eye out for weeds sprouting between the bricks. Pull them by hand or use a natural herbicide to keep your walkway looking pristine.
5.3. Sanding: Over time, the sand between the bricks can be washed away. Sand the joints as needed to ensure the integrity of your sidewalk.
Building a marbled walkway in your garden is a manageable project that will significantly improve the functionality and beauty of your outdoor space. If you follow these steps, you can create a permanent and attractive path that will give you many years of good service. Take the process and enjoy the transformation of your garden landscape.
Davon inspired? Share the article with your friends!