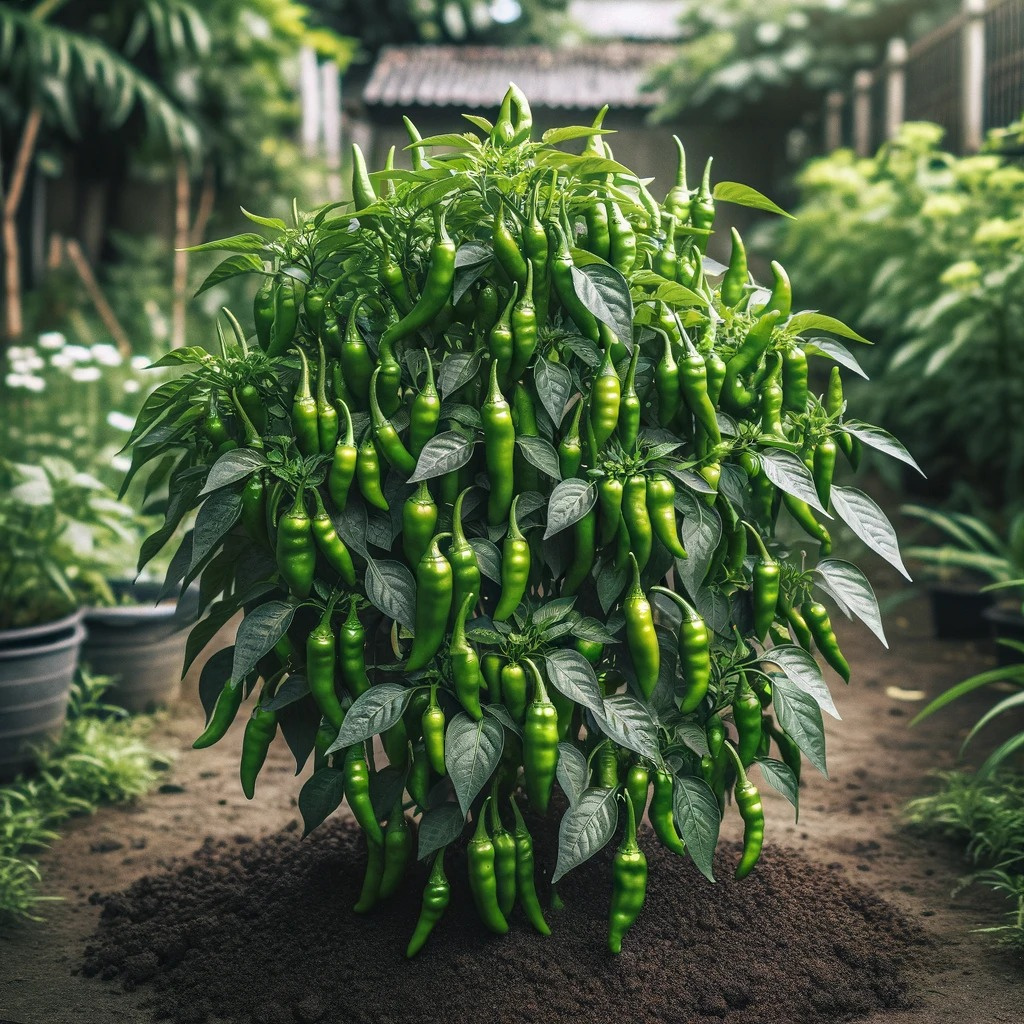
Growing chili peppers in pots is an excellent way to ensure a steady supply of fresh, spicy peppers without taking up much space. Here’s a detailed guide to help you grow chili peppers successfully in containers:
1. Choosing the Right Chili Pepper Varieties
- Description: Select varieties suitable for container growing.
- Tip: Varieties like ‘Cayenne’, ‘Jalapeno’, ‘Habanero’, ‘Thai’, and ‘Serrano’ are excellent for pots.
2. Selecting the Right Pot
- Description: Use a pot that accommodates the root system and supports healthy growth.
- Tip: A pot with a diameter of at least 12-14 inches and a depth of 12 inches works well. Ensure it has drainage holes to prevent waterlogging.
3. Preparing the Potting Mix
- Description: Use a high-quality, well-draining potting mix.
- Tip: A mix of compost, peat moss, and perlite or vermiculite ensures good drainage and nutrient retention.
4. Planting the Chili Peppers
- Seeds:
- Steps: Start seeds indoors 8-10 weeks before the last frost date.
- Depth: Plant seeds ¼ inch deep in seed-starting mix.
- Conditions: Keep the soil moist and provide warmth (70-80°F) and light for germination.
- Seedlings:
- Steps: Transplant seedlings after the danger of frost has passed and they have at least 2-3 true leaves.
- Depth: Plant them at the same depth as in their original containers.
- Tip: Space multiple plants in larger pots 12-18 inches apart.
5. Positioning the Pots
- Description: Place the pots in a location that receives full sunlight.
- Tip: Chili peppers need at least 6-8 hours of direct sunlight daily. Rotate the pots periodically for even growth.
6. Watering
- Description: Maintain consistent soil moisture without waterlogging.
- Tip: Water deeply when the top inch of soil feels dry. Avoid wetting the leaves to prevent fungal diseases.
7. Fertilizing
- Description: Feed the chili peppers regularly for optimal growth.
- Tip: Use a balanced, water-soluble fertilizer every 2-3 weeks. Switch to a fertilizer higher in potassium and phosphorus once flowering begins.
8. Supporting the Plants
- Description: Provide support to keep the plants upright and prevent damage from the weight of the fruit.
- Tip: Use stakes, cages, or small trellises for support as the plants grow.
9. Pruning
- Description: Prune the plants to encourage bushier growth and improve air circulation.
- Tip: Pinch off the growing tips when plants are 8-10 inches tall. Remove any yellowing or damaged leaves.
10. Pest and Disease Management
- Description: Watch for common pests like aphids, spider mites, and whiteflies, and diseases like blossom end rot and powdery mildew.
- Tip: Use insecticidal soap or neem oil for pest control. Ensure good air circulation and avoid overhead watering to prevent diseases.
11. Pollination
- Description: Chili peppers are self-pollinating, but better pollination can boost yields.
- Tip: Gently shake the plants or use a small brush to transfer pollen between flowers.
12. Harvesting
- Description: Harvest chili peppers when they reach the desired size and color.
- Tip: Use scissors or pruners to cut the peppers from the plant, leaving a small stem attached. Regular harvesting encourages more fruit production.
13. Overwintering
- Description: Extend the life of your chili pepper plants by overwintering them indoors.
- Tip: Before the first frost, prune the plants back and move them to a sunny indoor spot. Reduce watering and fertilizing during winter. Gradually reintroduce them to the outdoors in spring.
Conclusion
By following these steps, you can successfully grow chili peppers in pots, ensuring a constant supply of fresh, spicy peppers. Proper care, attention to detail, and regular maintenance will help your chili plants thrive and produce abundantly, allowing you to enjoy home-grown peppers year-round.