Do you think a burned-out LED bulb is good for the trash? Think again! Behind this small object lies an unknown repair potential. The lighting industry recommends purchasing new products, but there is a cost-effective and environmentally friendly alternative. This way, you can bring your bulb back to life and avoid unnecessary waste.
Why do your LED bulbs burn out so quickly?

LED bulbs are designed to last thousands of hours, but some burn out prematurely due to several factors:
- Electric shocks
- Defective components
- Poor heat dissipation
Fortunately, in many cases, repairs are possible without extensive electrical knowledge.
Check the condition of your light bulb before throwing it away
Before attempting repairs, take some precautions:
- To avoid the risk of electric shock, unplug the bulb before opening.
- Check for burn marks or damaged components.
- Test the circuit with a multimeter to determine the fault.
If the problem is a loose connection or cable, the repair is quick and easy.
Step 1: Safely open the ampoule
LED bulbs are often covered with a plastic or glass cap. Here’s how to open it:
Carefully pry off the cover using a flathead screwdriver or pliers.
Be careful with the fastening clips, they can break if too much force is applied.
Once opened, you have access to the circuit board and internal components.
Step 2: Identify the components to be repaired
In most cases, the problem lies with the LED driver, a small circuit that supplies power to the LEDs. Here’s how to identify a fault:
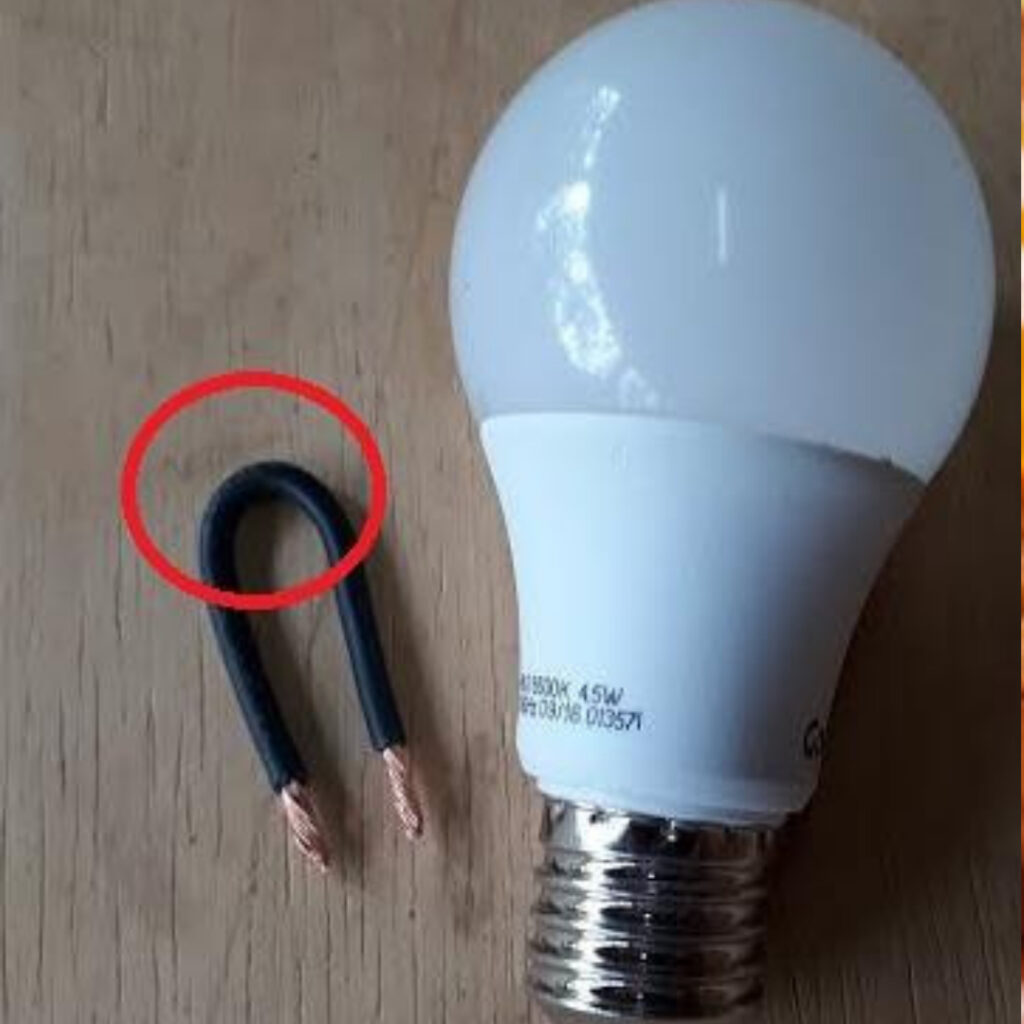
- Unsoldered or broken cable: Easy repair with a soldering iron.
- Swollen capacitor: It needs to be replaced.
- Burnt-out resistor: It must be replaced to restore the circuit.
If you have a multimeter, measure the voltage to determine the power interruption.
Step 3: Replace defective components
If a wire has come loose, solder it again using a soldering iron and solder.
Replace the defective components (capacitor, resistor, etc.) by checking their characteristics.
These parts are available on specialized websites or can be recovered from other old devices.
Step 4: Close and test the bulb
Reassemble the bulb and secure all parts properly.
Make sure no cable touches any metal part to avoid a short circuit.
Test the bulb by plugging it back in.
If it lights up, congratulations, you just extended its lifespan without spending a penny!
A simple and cost-effective repair
With a little patience and some basic tools, repairing an LED light bulb is within anyone’s reach. Not only will you save money, but you’ll also reduce e-waste.
Are you ready to give your LED lamps a second life?