Cauliflower is a nutritious and versatile vegetable that can be a wonderful addition to your home garden. While it’s typically grown in open fields, you can also successfully grow cauliflower in containers at home. Container gardening offers many advantages, such as space efficiency and greater control over growing conditions. In this article, we’ll provide you with a step-by-step guide to growing cauliflower in containers so you can enjoy fresh, homegrown cauliflower at your convenience.
1. Choosing the right container
Choosing the right container is the first step in growing cauliflower. Large, deep containers are ideal, as cauliflower needs ample space for root growth. A container with a capacity of at least 5 gallons is recommended. Make sure your chosen container has drainage holes in the bottom to prevent waterlogging.
2. Soil preparation
Cauliflower thrives in well-drained, nutrient-rich soil. You can create a suitable potting mix by combining equal parts compost, garden soil, and peat moss. This mixture provides the necessary nutrients and good drainage. Fill your container with this potting mix, leaving a few inches of space at the top.
3. Variety selection
There are several varieties of cauliflower, each with its own unique characteristics. Choose a variety that suits your climate, container size, and taste preferences. Popular options include ‘Snowball,’ ‘All Year Round,’ and ‘Graffiti,’ which comes in vibrant purple.
4. Sowing or transplanting
Cauliflower can be grown either from seed or transplants. If starting from seeds, sow them about 1/4 inch deep in your container. When transplanting, place young seedlings in the container, leaving ample space between them (about 18 inches apart).
5. Irrigation
Cauliflower plants require consistent moisture to thrive. Water your plants regularly and ensure the soil remains moist, but not soggy. Try to keep the soil evenly moist, but not soggy, to prevent rot and disease.
6. Sunlight
Cauliflower needs sufficient sunlight for healthy growth. Place your container in a location that receives at least 6 hours of direct sunlight daily. If you’re gardening indoors, consider using grow lights to supplement natural light.
7. Fertilization
Cauliflower is a heavy feeder and therefore requires regular fertilization. Start by applying a balanced, slow-release fertilizer at planting. Feed your plants with a high-nitrogen fertilizer every 3–4 weeks during the growing season to encourage strong growth.
8. Pest and disease management
Cauliflower is susceptible to various pests and diseases, including aphids, cabbage worms, and downy mildew. Check your plants regularly for signs of infestation and take appropriate measures, such as applying neem oil or organic pesticides, to protect them.
9. Thinning and pruning
Once your cauliflower plants have developed a few true leaves, thin them to create enough space for proper growth. Remove the weaker seedlings and allow the strongest to mature. Additionally, removing yellowing or damaged leaves can improve air circulation and reduce the risk of disease.
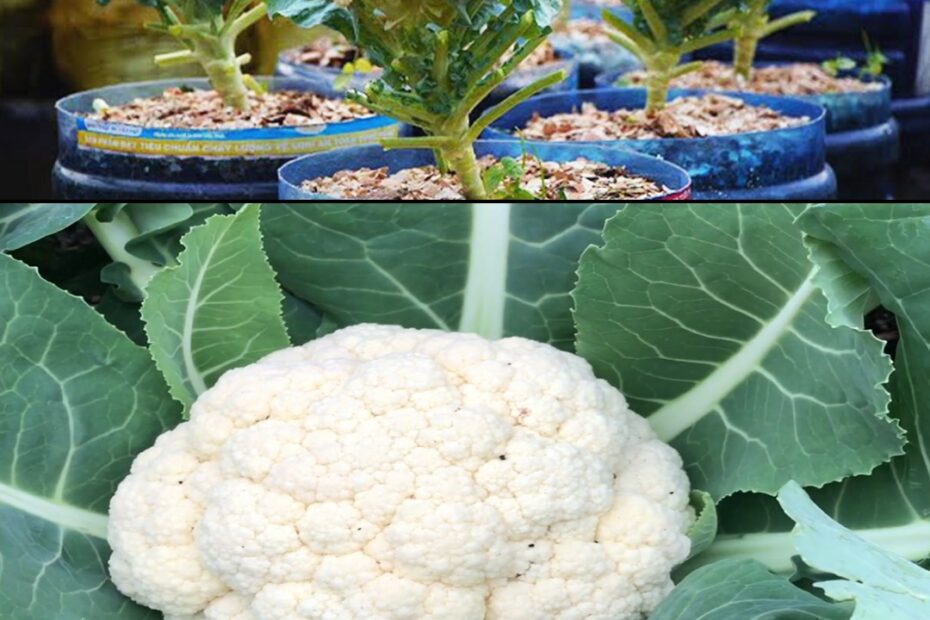
10. Harvest
Harvesting cauliflower depends on the variety, but it typically takes two to three months after planting. Harvest the heads when they have reached a suitable size and have a firm texture. Cut off the head with a sharp knife, leaving the stem intact for potential side shoots.
Growing cauliflower in containers at home is a rewarding and doable endeavor. With the right container, soil, proper care, and proper attention to pests and diseases, you can enjoy fresh, organic cauliflower from your own garden. Whether you’re an experienced gardener or a beginner, container gardening makes it easy to grow this nutritious vegetable. By following the steps outlined in this guide, you’ll be on your way to a successful homegrown cauliflower harvest.