At a time when sustainability and self-reliance are more important than ever, learning how to preserve food using the energy of the sun is a valuable skill. A solar dehydrator is a fantastic tool that allows you to efficiently dry fruits, vegetables and herbs while preserving their nutrients and flavor. This guide will walk you through the process of building a solar dehydrator and ensure you can enjoy the bounty of your garden all year round, with minimal energy costs and maximum nutrition.
I. Understanding Solar Food Dehydration:
- The Science Behind Dehydration :
Dehydration is one of the oldest and most effective methods of food preservation. By removing moisture from food, it inhibits the growth of bacteria, yeast and mold. When prepared properly, nutrients are retained and flavors are concentrated. - The role of solar energy :
Solar dehydrators use the sun’s energy to generate heat, increasing air circulation and moisture removal. This method is environmentally friendly, uses a renewable energy source, and is extremely effective in sunny climates.
II. The advantages of a solar dehydrator:
- Nutrient preservation :
Solar dehydration preserves food and preserves vitamins and minerals that are normally lost during traditional high-heat methods. - Cost-effective and sustainable :
Once built, solar dehydrators do not require electricity, reducing your carbon footprint and electricity bills. - Abundance of produce :
Dehydrate seasonal fruits and vegetables to enjoy year-round, reducing food waste and dependence on store-bought, packaged goods.
III. Structure of your solar dehydrator:
Materials required :
- Plywood (for frame and back)
- Clear polycarbonate or glass (for the front)
- Aluminium sheet or black paint (for heat absorption)
- Food grade mesh (for the trays)
- Hinges and handle (for the door)
- Screws, nails and basic tools (hammer, saw, screwdriver)
- Sealant (for weather protection)
- Thermometer (optional, for monitoring the temperature)

Step 1: Design your dehydrator
Decide the size according to your needs. A standard size is about 24 inches wide, 18 inches deep and 24 inches high. Plan for a sloped roof to maximize sunlight and allow moisture to escape.
Step 2: Build the frame
- Construct a box frame out of plywood. The front should be higher than the back to create a sloped roof.
- Attach the clear front panel (polycarbonate or glass) to invite sunlight and retain heat.
- Paint the inside of the back wall black or install aluminum sheets to absorb and radiate heat.
Step 3: Add ventilation
- Create small air intake holes at the bottom of the back panel and air exhaust holes near the top to ensure proper air circulation.
- Cover the holes with a net to keep insects out.
Step 4: Construct the trays
- Build shallow trays out of plywood and cover them with food-grade mesh to ensure adequate air circulation.
- Trays should slide in and out easily for loading and unloading products.
Step 5: Assemble and weatherproof
- Attach the back panel to the frame.
- Attach the door with hinges at the front and add a handle for easy opening.
- Seal all gaps with weatherproof sealant to prevent heat loss and protect against the elements.
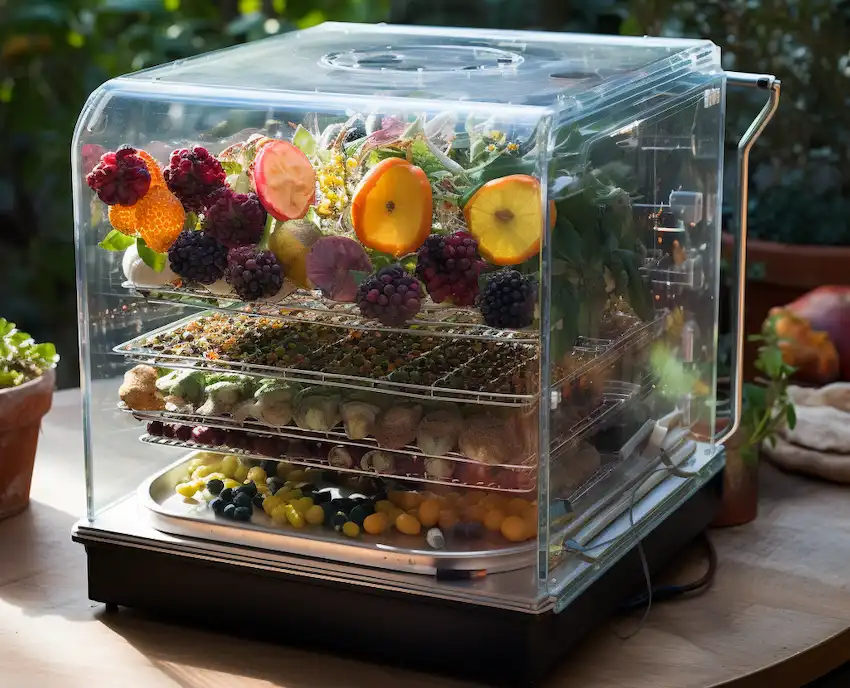
Step 6: Using your solar dehydrator
- Place thinly sliced fruits, vegetables or herbs on the trays, making sure the pieces do not overlap.
- Place the dehydrator in a sunny location and turn it occasionally to follow the sun.
- If possible, monitor the temperature and adjust ventilation to keep it at around 30°C to 60°C.
- After drying, store your products in airtight containers.

Building and using a solar-powered food dehydrator is a worthwhile endeavor that is in line with the principles of sustainable living. It allows you to preserve your harvest, reduce waste, and enjoy nutritious sun-dried treats all year round. Take advantage of this eco-friendly preservation method and take another step toward self-sufficiency and a closer connection with nature.
Inspired by this? Share the article with your friends!