Servings: 8
Prep Time: 15 minutes
Chill Time: 4 hours or overnight
Ingredients
For the Crust:
- 1 1/2 cups graham cracker crumbs
- 1/4 cup sugar
- 1/2 cup unsalted butter, melted
For the Filling:
- 16 oz cream cheese, softened
- 1 cup heavy whipping cream
- 1/2 cup powdered sugar
- 1 tsp vanilla extract
- 1 tbsp lemon juice (optional, for a little zing)
For the Topping (optional):
- Fresh berries (strawberries, blueberries, raspberries, etc.)
- Additional whipped cream for garnish
Instructions
- Make the Crust:
- In a bowl, combine graham cracker crumbs and sugar. Stir in the melted butter until the mixture is well combined and looks like wet sand.
- Press the mixture into the bottom of a 9-inch springform pan or pie dish, forming a compact, even layer. Make sure to press it up the sides of the pan if you want a full crust effect.
- Place the crust in the fridge to set while you work on the filling—this helps it firm up and stay in place.
- Prepare the Filling:
- In a large mixing bowl, beat the softened cream cheese until smooth and creamy. You can use a hand mixer or stand mixer for this—whisking by hand will only give you a workout!
- In a separate bowl, whip the heavy cream with the powdered sugar and vanilla extract until soft peaks form. You can also add lemon juice at this point if you like a tangy touch.
- Gently fold the whipped cream into the cream cheese mixture until smooth and fluffy. Don’t overmix; we want that airy, creamy texture!
- Assemble the Cheesecake:
- Pour the cream cheese filling into the prepared graham cracker crust. Smooth it out into an even layer with a spatula.
- Cover the cheesecake with plastic wrap or a lid and place it in the fridge for at least 4 hours, but overnight is even better! This allows the cheesecake to firm up and get that perfect, sliceable consistency.
- Serve:
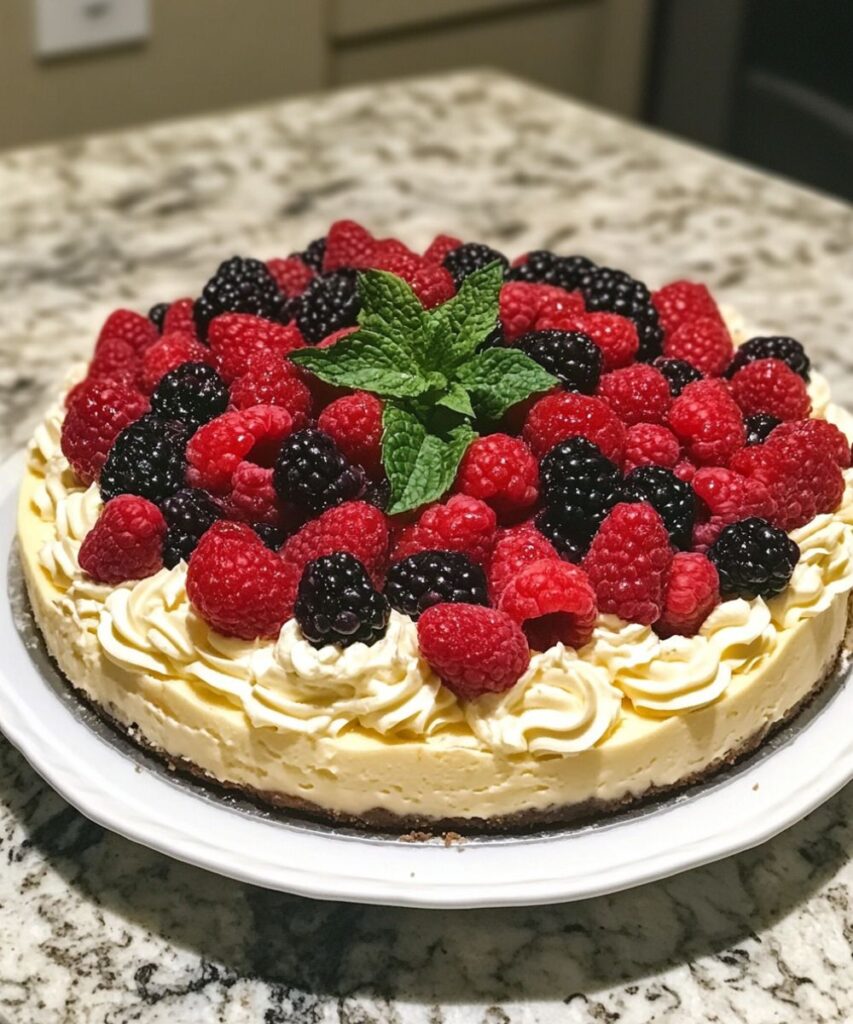
- Once chilled, top the cheesecake with fresh berries or your favorite fruit topping (strawberries, blueberries, or raspberries work wonders). If you’re feeling extra fancy, add a dollop of whipped cream on top.
- Slice and enjoy the creamy, melt-in-your-mouth goodness!
Do’s and Don’ts
DO:
- Let the cream cheese soften before mixing—this helps it blend better and avoids lumps.
- Chill the cheesecake for at least 4 hours to ensure it sets properly—impatience will only ruin the silky texture!
- Get creative with the topping—try chocolate shavings, caramel drizzle, or even a fruit compote for added flavor.
DON’T:
- Skip the graham cracker crust—it’s the foundation of this cheesecake and adds the perfect crunch!
- Forget to let it chill! A no-bake cheesecake needs time to set up in the fridge. Don’t even think about cutting into it too soon!
Variations:
- Chocolate No-Bake Cheesecake: Add melted chocolate to the filling for a rich, chocolatey twist. You can also top with chocolate ganache for an extra indulgence.
- Lemon No-Bake Cheesecake: Add lemon zest and extra lemon juice to the filling for a tangy, refreshing flavor. Top with a berry compote for the perfect balance.
- Pumpkin No-Bake Cheesecake: Add pumpkin puree and a pinch of cinnamon, nutmeg, and ginger to the filling for a fall-inspired version.
No-Bake Cheesecake is the ultimate dessert when you want something creamy, decadent, and super easy. It’s like a slice of happiness in every bite—plus, it’s no-bake, so you can avoid the oven altogether. 🍰